Git for Designers
Or anyone who really wants to use it but has no idea how
February 22Also avaliable on Medium
Writing code is hard. For every 1 minute of bliss typing characters in the computer and seeing it render things that didn’t exist before, there are 10 minutes of frustration with unreadable code and bugs that didn’t exist the night before.
Writing code with Git is hard. Writing code without it is unthinkable. Whether you’re senior developer on a huge team or a designer who just started dabbling with front-end for personal projects, using Git will change the way you code for the best and make group collaboration enjoyable.
This guide will walk you through basic concepts in Git with some hands-on action at the end. It won’t make you a Git master, but you will be able to use Git by yourself with Github and it’s desktop app.
PSA: This is a guide for absolute beginners… if you already have Git chops feel free to skim through or jump to the references in the end of the article.
What is Git
Git is a distributed version-control system for code.
Descriptive but not very helpful, right? Let me tell you a true story then:
You’re working on a small website. You’ve been trying to get that sticky footer right for a whole hour and somehow only managed to make it worse in the process. It’s 2AM. You hate CSS and is currently in the process of re-thinking your life choices. Screw this, let’s go back to the previous version from 3 hours ago **and watch some Netflix.
Oh wait.
The previous version. You don’t have it anymore, do you?
What if every change in your project was tracked — every character and line of code you added or deleted. What if you could save all of your code at every stage of your work?
That way, once you started working on the feature/sticky-footer, you were sure nothing would be lost if you decided to roll back — and you could even go back to work on this feature later if you wanted to.

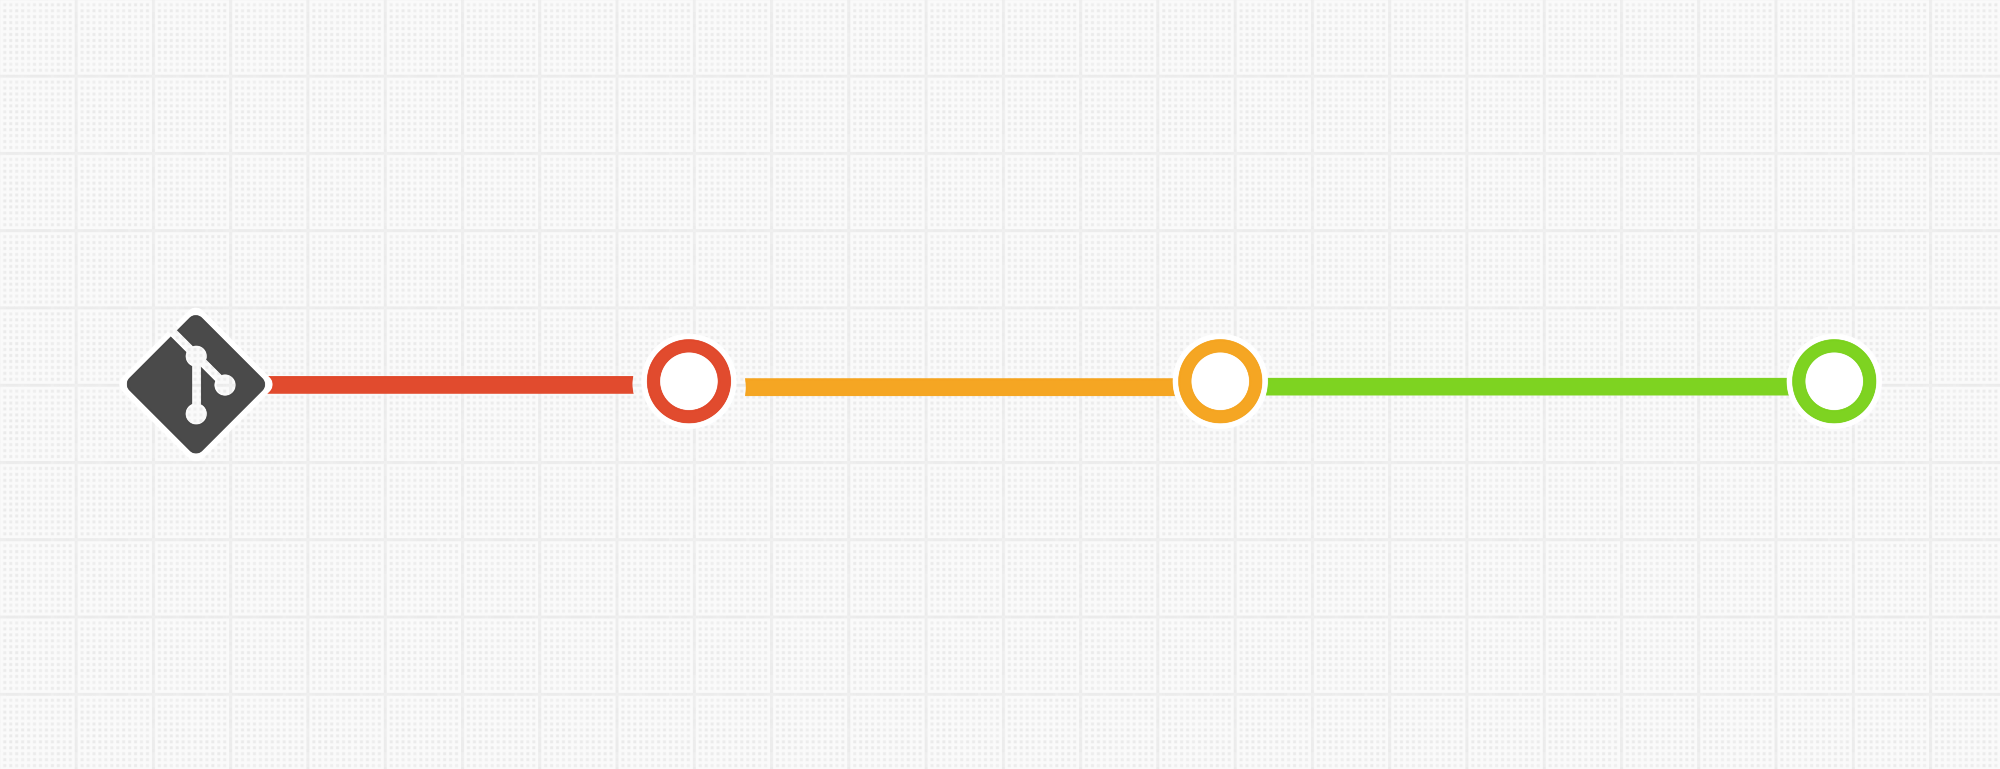
Git is a time machine for code
That’s what Git does. It tracks and saves snapshots of your entire codebase and allows you to easily distribute it to other developers (either teammates or people on the internet). In practice, Git will allow you to:
- Roll-back changes in your code
- Develop new features without affecting code that’s already live
- Collaborate with other developers in the same code at the same time without going insane
- Make it really hard to screw things up
But what about… Github?
This can be confusing for beginners, so let’s clear it up.
Git is an open-source system. You use it by running it on your machine to save your code and then upload it to a server where other people can see it. The thing is, for this to work you have to install Git on this server and manage it yourself. Which, as you probably guessed, is a major pain in the ass.
Github was created to address this problem. It’s a platform that hosts your code on a remote Git server with a nice web interface and allows you to collaborate with other project members on the same server. Conversely, the Github app can be used instead of the default Git command-line application on your desktop.
There are others similar platforms like Gitlab and Bitbucket — they are great products as well. Github became huge for its interface focused on team collaboration and massive adoption by the open-source community.
For the sake of convention we’re going to use Github for this guide, but the same could be achieved using other hosted platforms.
How it works
When you use Git, your project lives in a repository. Every project is a repository, and every repository has a different history — basically, a timeline of every change you saved in it.
However, Git doesn’t save changes to the history automatically. To save a change to your history, you need to commit your changes.
The commit is the most important thing about Git. Comitting is the way to add a file or save changed files to your repository history.
A commit represents a snapshot of your repository in the moment that commit was saved — all of your repository, with every file, all of it.
You can type a message for each of your commits, describing which changes it’s saving to the project’s history. It’s important to keep your commit messages descriptive and short. Never commit without writing a commit message.
Committing is a powerful tool. It allows you think about your code in chunks and organizes your work — each small part of your work is done and checked in a commit before moving to the next.
There are other important things to know, but let’s do this right now.
Getting our hands dirty
Let’s create a repository and do a test commit. Start by creating a Github account if you don’t have one already.
Once you do, create a new repository. You can name it however you want, this is just a test. Leave other configurations untouched for now.
 Pretty straightforward
You’ve probably seen people using Git with the command-line. It’s easy to do it, but don’t worry, we’ll skip the command-line for now. We will use Github’s desktop app that achieves the same purpose with a helpful UI for Windows or Mac.
Once your repository was created at Github and you have the Desktop app up and running, you’ll see it listed in the app. Now you need to copy it to your machine.
That is, you need to clone it. The app will give you the option to select a folder where the repository will live in your computer: that’s where your code should go.

Saving your changes
Once you have your repo (short for repository) cloned, add any file and you’ll see all changes listed in the Github App:


See the change? Now let’s commit it:
 Make sure you commit summary and message are descriptive
 Your commit history!
One important caveat
It’s important to notice that your file changes will only be tracked after the file is commited for the first time. Here’s a visual explanation:
 When a new file is added, Git still doesn’t know about it. If you don’t commit it…
 …any change you make will be lost! The previous line is gone and Git has no history saved.
That’s one of the reasons it’s important to constantly commit you work, in small chunks — specially when you’re adding a new file. This way you make sure you can roll-back small changes if necessary and no work is lost.
Sharing your code
Once you’re done working, make sure you push your changes to Github using the Publish button on the top, so other collaborators can see them (and you have a backup in case something bad happens to your computer)! Conversely, to get the changes added by other collaborators from Github, just press Sync.
Want to see a previous state of your project? Just select a previous commit on your history.
It’s great to see your repository history growing, being sure that you can roll-back your changes anytime. It can (and probably will) get messy after a while, but knowing it’s really hard to screw things up is a reassuring way to work.
 Again: make sure your commit messages are as descriptive as possible
What’s Next
You may have realized the Github app shows an option called branches. Branches are a good way to modularize your project and make sure your code changes don’t conflict with other collaborators— but let’s leave this for another day ✨.
Using Git by yourself is already a great way to organize the way you code and make sure you can roll-back any unwanted changes. However, this is really just the beginning about Git. If you want further reference, here are some useful links:
- CodeSchool has a crash-course on Git
- Another beginner guide for those that want to use Git in the command line
- A cheatsheet of Git commands (you may want to see the previous guides first to make sense of this)
- Official Git reference (for the brave-hearted!)